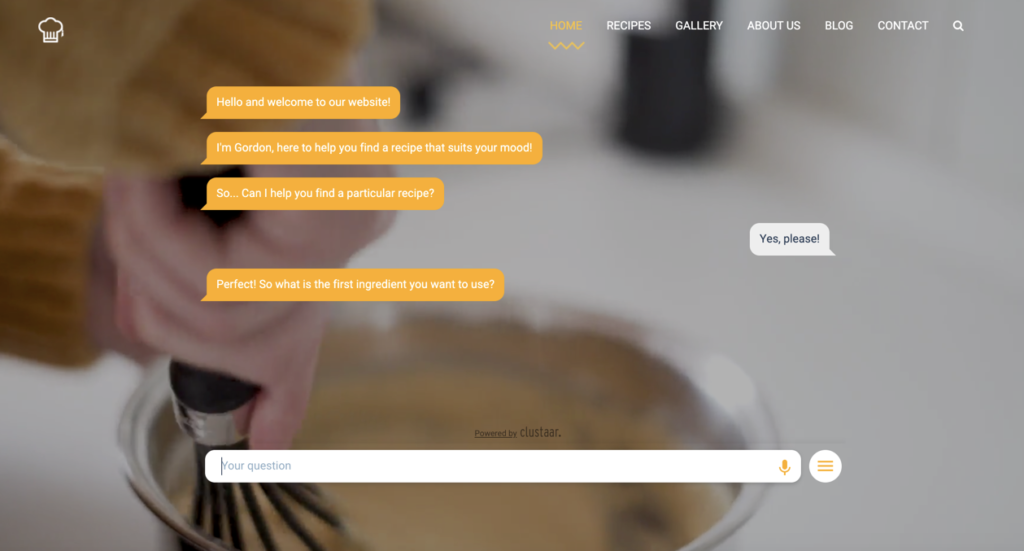
You can very easily set your webchat in a way that it becomes a full element of your website and no more an overlapping widget.
For example, that’s what we did on this page!
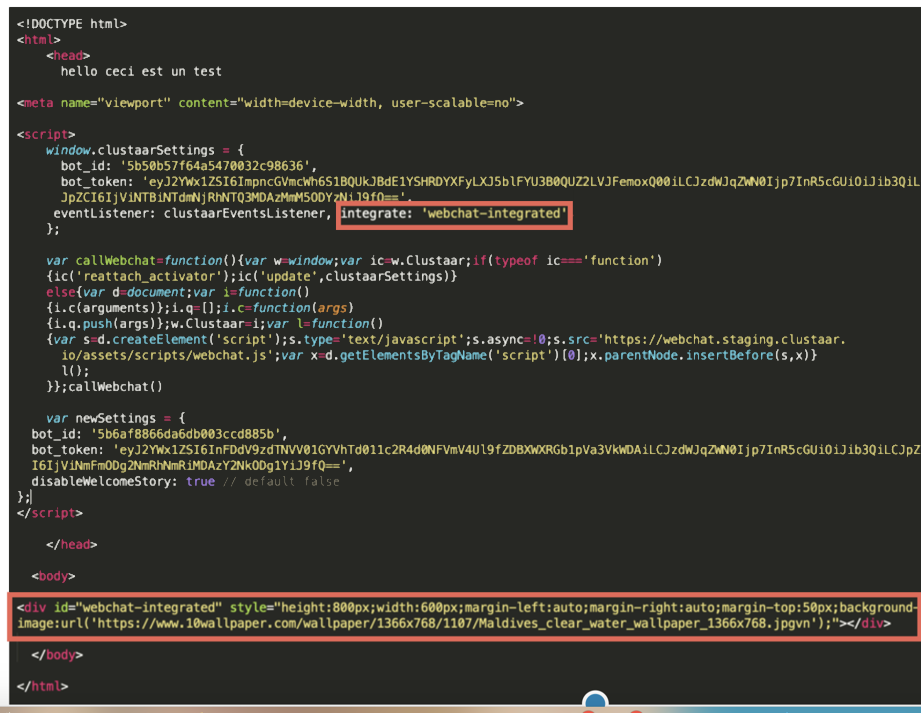
- Set my webchat “integrated” from my website HTML page
To make your webchat integrated, you must follow these steps:
A) In case the div ( = generic container) that should contain your webchat does not exist:
– add a div in your HTML page body et apply the desired parameters to it (height, width, margin, background,…) and give it an ID
– add the integrate attribute in the ClustaarSettings part of your bot, with your div ID as a parameter
B) In case the div does exist:
– add the integrate attribute in ClustaarSettings part of your bot, with your div ID as a parameter
For the webchat to be a widget and no more integrated, you just have to delete the integrate attribute of your ClustaarSettings.
You’ll find all the information on our documentation for developers available at this link.
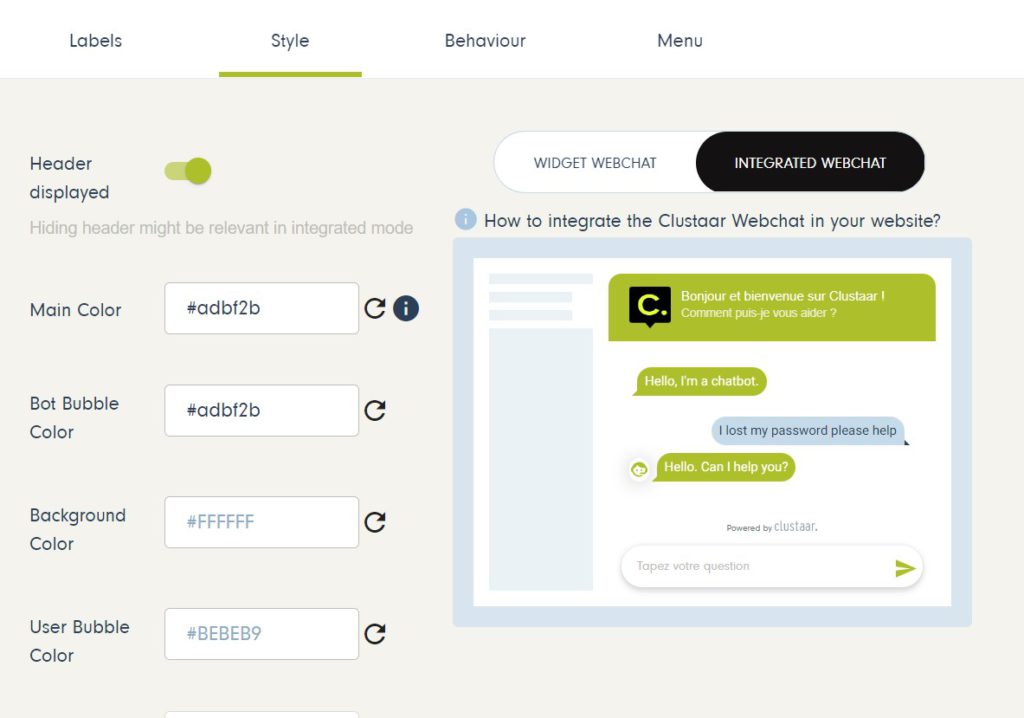
2. Change webchat style from the platform back-office
Some elements of the “Style” tab of Clustaar Webchat configuration panel concern the integrated webchat:
- a “header displayed” header: choose whether to hide or display your webchat header
- an “Integrated Webchat” preview has been added.
You now have all the information needed to integrate your webchat to your website and offer a particular experience to your users! 💪