The objective of this article is to take you by the hand, if you want it so. 😊
This is a step by step guide of how to start in the Clustaar Platform.
If you don’t feel like reading, you can also find this video step by step guide.
Create a chatbot in the platform
When you arrive in the Clustaar Platform, we offer a fresh chatbot for you: Your First Chatbot. You can go check it out, it will present the basic features of the Platform and some cool things you can do with it.
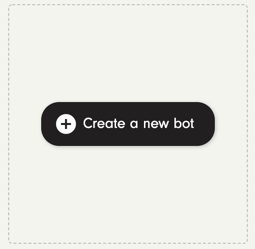
But for now, let’s focus on creating a new chatbot.
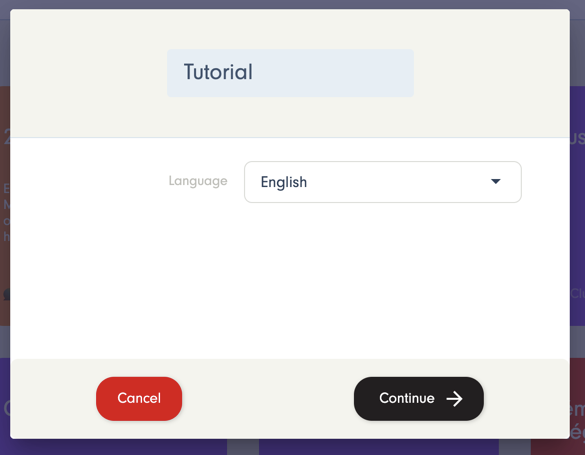
First, choose the name of your chatbot, and its language.
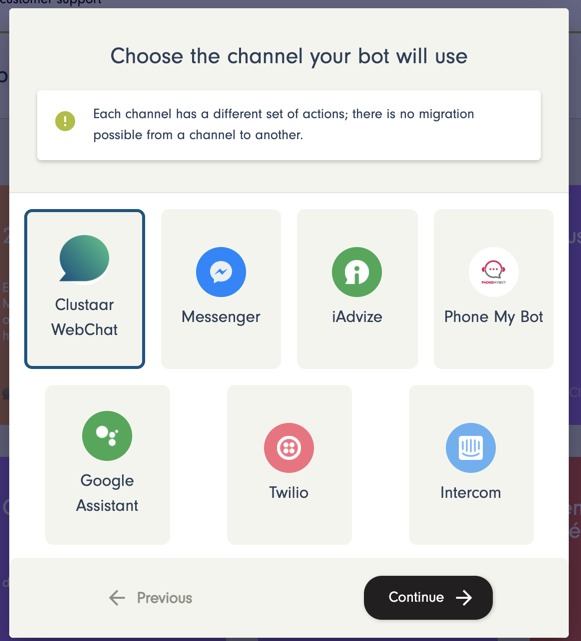
Then, choose the channel:
⚠️
When choosing the channel, remember that each channel offer specific functionalities. Some are free (Clustaar Webchat, Messenger), some require an account on another software (Intercom, Twilio).
Depending on the objective of your chatbot, you will not choose a different channel.
To get started, we suggest choosing the Clustaar Webchat. It’s free, offers the main features needed to build a chatbot (cards, buttons…) and can be plugged into any website in a few seconds.
More about channels
Then, you can import items:
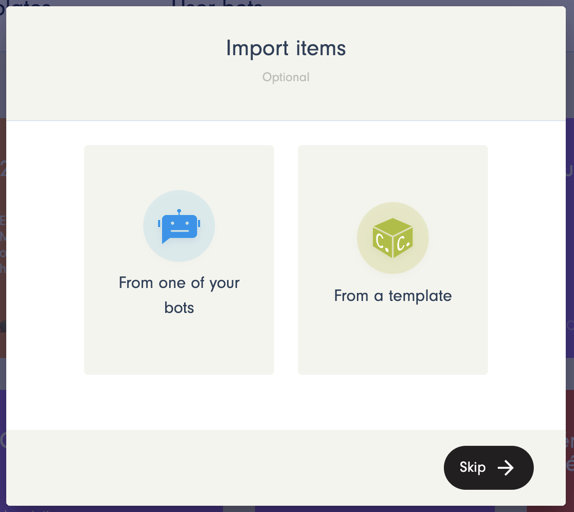
If you chose, you can import items from an existing bot. However, if you’re reading this article, you may not have an existing chatbot. 😉
You can also import pre-built intents, entities and stories from one of our templates to hit the ground running.
You can also chose not to import anything and Skip directly to the bot builder.
Create your first story
When you arrive in the bot builder, everything is empty, so you’ll need to create a first Story by clicking on Create your First Story.
You can name it “Hello”. No matter what your bot project is, you will always need a “Hello” story!
More about Stories
You will arrive in the Story building part of the platform.
Click on the First step to start editing your story
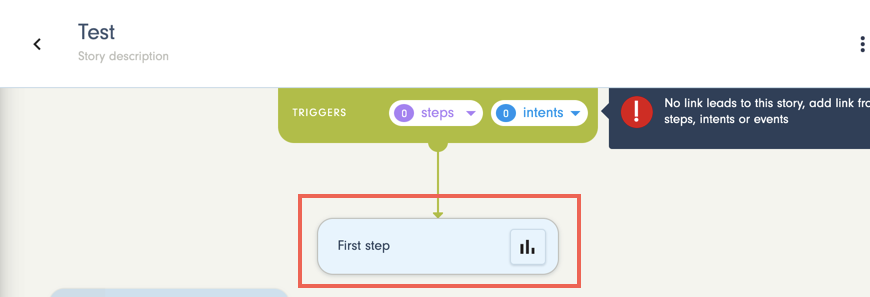
By clicking on the first step you will open the Step configuration panel.
On the left of the panel, you will see actions that you can drag&drop in the panel.
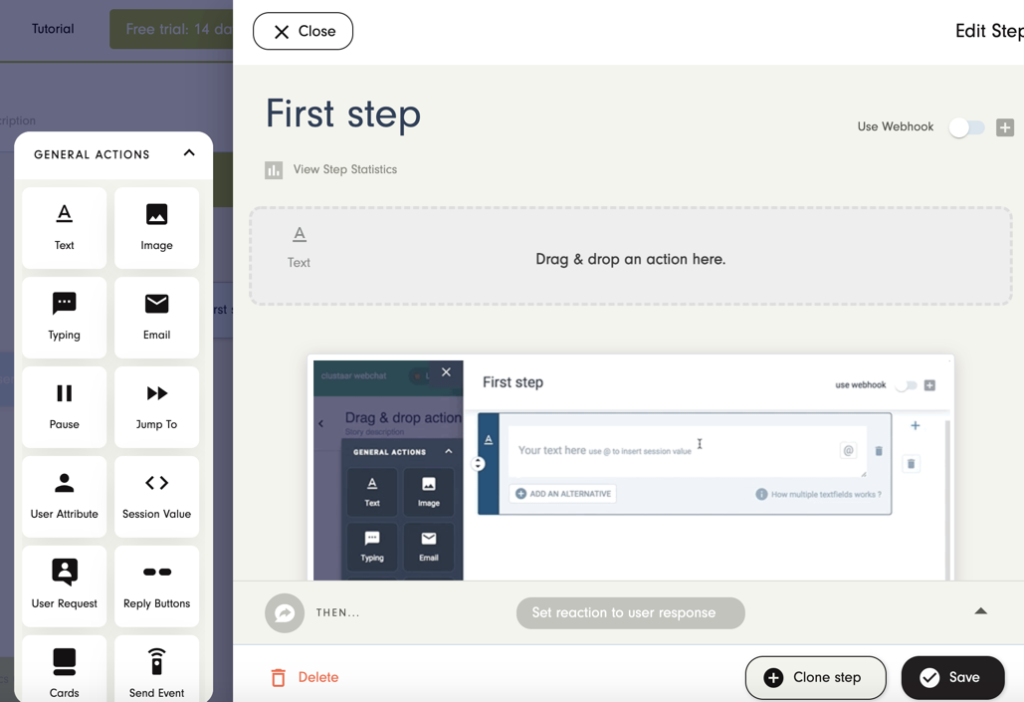
This is where you chose, at any step of your scenario, what your chatbot will do: answer with text, images, cards; pause; remember information; send an email, etc…
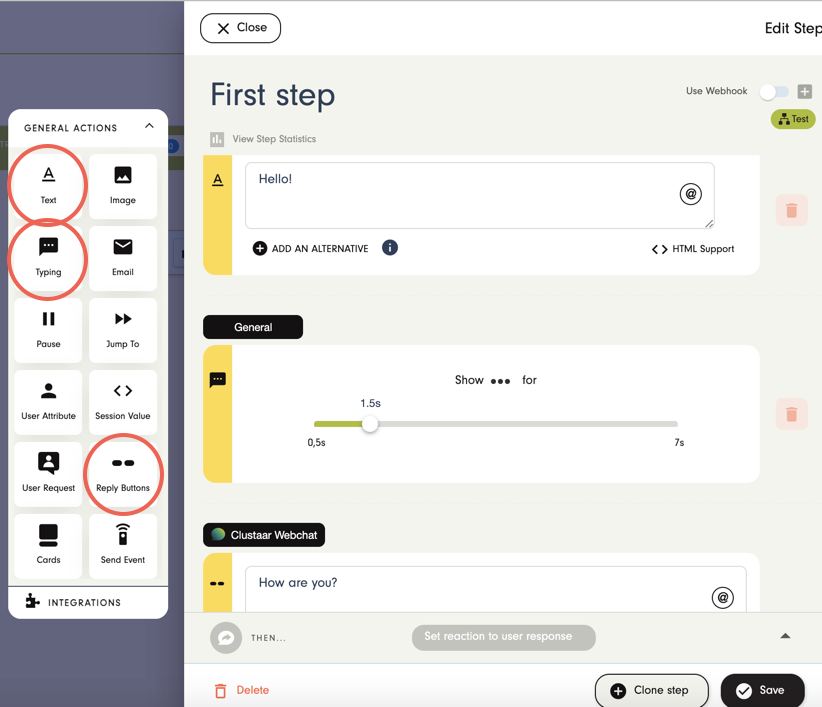
In this tutorial, we suggest you use three actions:
- Text: to say “Hello”;
- Typing: to give your user some time to read and make the bot more human;
- Replies: to ask “How are you?” and suggest answers with buttons.
The next steps
Create the next steps
In the Clustaar platform, you usually create the next steps on the go. While you’re in the first step, you will start thinking of what happens next.
For example, when you create your buttons (Replies), you will need to say where the user will go by clicking on this button, therefore creating a new step.
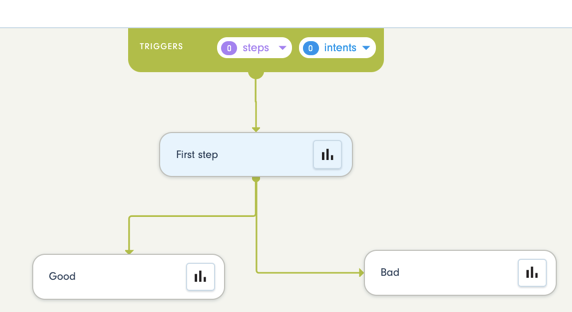
Here, we asked “How are you?” so we are going to give the user two options:
- “Good”, directing them to a new step called “Good”
- “Bad”, sending them to the step… “Bad”
When the two buttons are created, it will look like this:
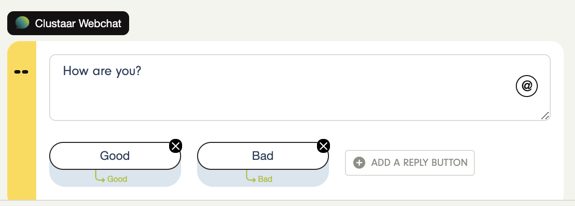
That way, you will have created the next two steps of your scenario.
Configure the next steps
Then, you can click on each step to add actions.
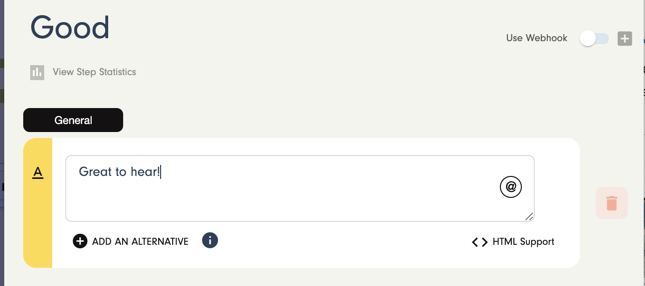
For example, we’ll open the step “Good” and show the bot is happy that you are doing good 😊
Drag&Drop a “Text” action and add the text you want.
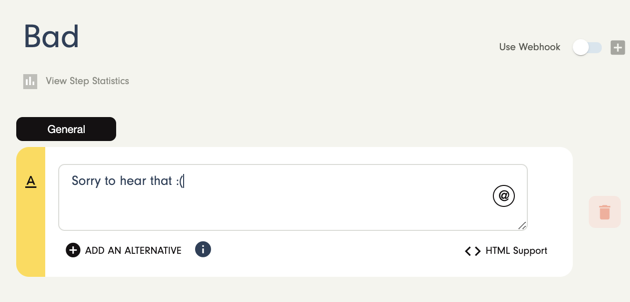
You can do the same with the step “Bad”.
Trigger your story
Now that you have created your first Story, you will need to trigger it. The trigger is usually a message from the user, what we call an Intent.
More about intents
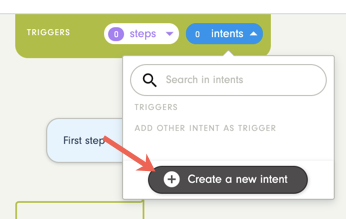
So you need to create an Intent to trigger your story. Here is how you do it:
- Go in the “Triggers” zone at the top of your story
- Click on “Intents”, then on “Create a new intent”
The “Steps” triggers show you what other steps lead to your story. They will appear along the way, if you create links between stories.
Build your intent
When you click on “Create an intent”, the intent configuration pannel will open. Here are the two first and most important things you’ll need to do to calibrate your intent:
- Name your intent
You need to ask yourself “when do i want this story to be triggered ?”. In this example, the Story “Hello” needs to be triggered by the intent “Hello”.
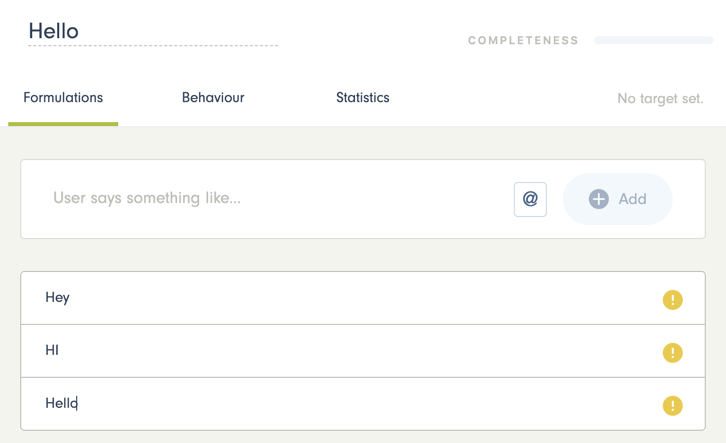
- Write a few differents phrasings
Here, you will put different ways of saying “Hello” so the chatbot has a chance to understand it whichever way people say it.
In the case of a more complex intent like “contact customer support”, you will need to input a few different phrasings :
> I want to contact your customer support
> I would like to speak to a human
> Can I be put in contact with your team ?
Then, click on the “Create” button, at the bottom of the intent panel.
Test your chatbot
Now that you have created a very basic scenario, you can try it in the test console on the right of your screen.

And here you go, you have your first story. Then you can keep expanding the story you built, or create new ones.
You can create new intents and discover entities, which are one of the many great features of the Clustaar platform, making it more complex, and allowing you to build really valuable chatbots!
And of course, don’t hesitate to contact us if you have any question or want to see a demo of everything you can do with the Clustaar Platform!
Get a demo